
By now you're surely familiar with the benefits of Python's SQLAlchemy library: the all-in-one solution for basically anything database related. Like most major Python libraries, SQLAlchemy has been ported into a version specifically compatible with Flask, aptly named Flask-SQLAlchemy.
"""Flask configuration variables."""
from os import environ, path
from dotenv import load_dotenv

basedir = path.abspath(path.dirname(__file__))
load_dotenv(path.join(basedir, '.env'))


class Config:
    """Set Flask configuration from .env file."""

    # General Config
    SECRET_KEY = environ.get('SECRET_KEY')
    FLASK_APP = environ.get('FLASK_APP')
    FLASK_ENV = environ.get('FLASK_ENV')

    # Database
    SQLALCHEMY_DATABASE_URI = environ.get("SQLALCHEMY_DATABASE_URI")
    SQLALCHEMY_ECHO = False
    SQLALCHEMY_TRACK_MODIFICATIONS = False
config.py
Similar to the core SQLAlchemy package, Flask-SQLAlchemy provides an ORM for us to modify application data by easily creating defined models. Regardless of what your database of choice might be, Flask-SQLAlchemy will ensure that the models we create in Python will translate to the syntax of our chosen database. Given the ease-of-use and one-size-fits-all nature of Flask-SQLAlchemy, it's no wonder that the library has been the de facto database library of choice for Flask since the very beginning (seriously, is there even another option?)
Configuring Flask-SQLAlchemy For Your Application
There are a few essential configuration variables we need to set upfront before interacting with our database. As is standard, we'll be using a class defined in config.py to handle our Flask config:
There are a few variables here which are specific to Flask-SQLAlchemy:
SQLALCHEMY_DATABASE_URI: the connection string we need to connect to our database. This follows the standard convention:[DB_TYPE]+[DB_CONNECTOR]://[USERNAME]:[PASSWORD]@[HOST]:[PORT]/[DB_NAME]SQLALCHEMY_ECHO: When set to 'True', Flask-SQLAlchemy will log all database activity to Python's stderr for debugging purposes.SQLALCHEMY_TRACK_MODIFICATIONS: Honestly, I just always set this to 'False,' otherwise an obnoxious warning appears every time you run your app reminding you that this option takes a lot of system resources.
Those are the big ones we should worry about. If you're into some next-level database shit, there are a few other pro-mode configuration variables which you can find here.
Initiating Flask-SQLAlchemy
As always, we're going to use the Flask Application Factory method for initiating our app. If you're unfamiliar with the term, you're going to find this tutorial to be confusing and pretty much useless.
The most basic __init__.py file for Flask applications using Flask-SQLAlchemy should look like this:
from flask import Flask
from flask_sqlalchemy import SQLAlchemy

db = SQLAlchemy()


def create_app():
    """Construct the core application."""
    app = Flask(__name__, instance_relative_config=False)
    app.config.from_object('config.Config')

    db.init_app(app)

    with app.app_context():
        from . import routes  # Import routes
        db.create_all()  # Create sql tables for our data models

        return app
__init__.py
Note the presence of db and its location: this our database object being set as a global variable outside of create_app(). Inside of create_app(), on the other hand, contains the line db.init_app(app). Even though we've set our db object globally, this means nothing until we initialize it after creating our application. We accomplish this by calling db.init_app() within create_app(), and passing app as the parameter. Within the actual 'application context' is where we'll call create_all(), which we'll cover in a bit.
If that last paragraph sounded like total gibberish to you, you are not alone. The Flask Application Factory is perhaps one of the most odd and poorly explained concepts in Python software development- my best advice is to not become frustrated, take the copy + paste code above, and blindly accept the spoon-fed nonsense enough times until it becomes second nature. That's what I did, and even as I worked through this tutorial, I still came across obnoxious quirks that caught me off-guard.
Take note of import we make inside of the application context called routes. This is one of two files we haven't written just yet: once we create them, our application file structure will look something like this:
flask-sqlalchemy-tutorial
├── /application
│   ├── __init__.py
│   ├── routes.py
│   └── models.py
├── config.py
└── wsgi.py
Project structure
Creating Database Models
Create a models.py file in our application directory. Here we'll import the db object that we created in __init__.py. Now we can create database models by defining classes in this file.
A common example would be to start with a User model. The first variable we create is __tablename__, which will correspond to the name of the SQL table new users will be saved. Each additional variable we create within this model class will correspond a column in the database:
"""Data models."""
from . import db


class User(db.Model):
    """Data model for user accounts."""

    __tablename__ = 'flasksqlalchemy-tutorial-users'
    id = db.Column(
        db.Integer,
        primary_key=True
    )
    username = db.Column(
        db.String(64),
        index=False,
        unique=True,
        nullable=False
    )
    email = db.Column(
        db.String(80),
        index=True,
        unique=True,
        nullable=False
    )
    created = db.Column(
        db.DateTime,
        index=False,
        unique=False,
        nullable=False
    )
    bio = db.Column(
        db.Text,
        index=False,
        unique=False,
        nullable=True
    )
    admin = db.Column(
        db.Boolean,
        index=False,
        unique=False,
        nullable=False
    )

    def __repr__(self):
        return '<User {}>'.format(self.username)
models.py
Each "column" accepts the following attributes:
- Data Type: Accepts one of the following:
String(size),Text,DateTime,Float,Boolean,PickleType, orLargeBinary. - primary_key (optional): When set to True, this field will serve as the primary key in the corresponding database table.
- foreign_key (optional): Sets a foreign key relationship to a field in another table. The target column must have a unique constraint in order to build a relationship between two tables.
- unique (optional): When set to True, the field will have a unique constraint added in the database.
- nullable (optional): Accepts a Boolean value which specifies whether or not this column can accept empty values.
With our first model created, you're already way closer to interacting with your database than you might think.
SQLAlchemy models have a few reserved variables names which can be used to further configure the corresponding database tables. Here are a few examples:
__tablename__: Set the name of the resulting table.__table_args__ = {"schema": "my_name"}: Sets the Postgres schema to save the table under.__table_args__ = {'extend_existing': True}: Specifies that a table wit hthis name already exists in the target database. When this is set, your model will not override existing tables Thus, it is possible that the fields in your model might not match up with columns in your table.
Creating our First User
With our User model created, we now have what we need to create users in our database on the fly. Here we'll crack open routes.py and make a simple route to create a user. This route will accept two query string parameters: ?user= will accept a username, and &email= will accept an email address:
from flask import request, render_template, make_response
from datetime import datetime as dt
from flask import current_app as app
from .models import db, User


@app.route('/', methods=['GET'])
def user_records():
    """Create a user via query string parameters."""
    username = request.args.get('user')
    email = request.args.get('email')
    if username and email:
        new_user = User(
            username=username,
            email=email,
            created=dt.now(),
            bio="In West Philadelphia born and raised, \
            on the playground is where I spent most of my days",
            admin=False
        )
        db.session.add(new_user)  # Adds new User record to database
        db.session.commit()  # Commits all changes
    return make_response(f"{new_user} successfully created!")
routes.py
Check out how easy this is! All it takes to create a user is create an instance of the user class, add it to our session via db.session.add(new_user), and commit the changes with db.session.commit()! This is the appeal of powering applications with a database ORM like SQLAlchemy: instead of bothering with handling SQL statements, we can now manage our data as though they were objects. In the context of building an app, data models grant us a safe, easy way to modify data.
The new_user variable creates an instance of User locally in memory. We pass keyword arguments to set the values of each field in our class (username, email, created, and bio).
db.session.add(new_user) stages the new user we just created to be added to the database. As with any database interaction in Python, the change won't actually be committed until we explicitly give the OK. In Flask-SQLAlchemy, this is done via db.session.commit().
Querying Our New Data
We've created a user, but how can we make sure that duplicate records aren't created? Since the username and email fields have the unique constraint, our database technically won't allow this to happen. If we don't add the proper validation, attempting to insert multiple unique values into our table will cause the app to crash. Instead of crashing, let's build in a nice error message!
...


@app.route('/', methods=['GET'])
def user_records():
    """Create a user via query string parameters."""
    username = request.args.get('user')
    email = request.args.get('email')
    if username and email:
        existing_user = User.query.filter(
            User.username == username or User.email == email
        ).first()
        if existing_user:
            return make_response(
                f'{username} ({email}) already created!'
            )
        new_user = User(
            username=username,
            email=email,
            created=dt.now(),
            bio="In West Philadelphia born and raised, \
            on the playground is where I spent most of my days",
            admin=False
        )  # Create an instance of the User class
        db.session.add(new_user)  # Adds new User record to database
        db.session.commit()  # Commits all changes
        redirect(url_for('user_records'))
    return render_template(
        'users.jinja2',
        users=User.query.all(),
        title="Show Users"
    )
routes.py
Before we create a new user, the existing_user variable queries our user table to see if a record already exists with the information provided. To query records which belong to a data model, we write a statement like this:
[MODEL].query.[METHOD_1].[METHOD_1].[FIRST or ALL]Syntax for constructing a query via the Flask-SQLAlchemy
[MODEL] is our data model class name, which we follow this up with .query. Now, we can construct a query using a number of methods at our disposal:
filter([CRITERIA]): Return all records which match a given criteria.order_by([MODEL].[COLUMN]): Sort returned records by a column.get([VALUE]): Retrieve a record by its primary key..limit([INTEGER]): Set a maximum number of records to retrieve.
In our case, we use the .filter() method to retrieve existing users which already have our desired username or email taken (we use first() in our query instead of all(), because we're expecting a maximum of 1 record). If a record exists, we deliver an error to the user:
myuser (myuser_972@example.com) already created!Error message delivered to end user
Loading Records Into a Template
For our final trick, let's see our Jinja plays along with database records. I've modified our route below to render a template called users.html. This template will create an HTML page which lists all existing users:
...

@app.route('/', methods=['GET'])
def create_user():
    """Create a user."""
    ...
    return render_template(
        'users.jinja2',
        users=User.query.all(),
        title="Show Users"
    )
routes.py
The statement User.query.all() will return all instances of User in our database. We pass all of these records into our template with users=users. Here's our Jinja template:
{% extends "layout.html" %}


{% block content %}

  <div class="container">
  <h1>Flask-SQLAlchemy Tutorial</h1>
    {% for user in users %}
    <ul id="user.username">
      <li>
        <span class="field-name">User:</span>
        <span class="field-value">{{ user.username }}</span>
      </li>
      <li>
        <span class="field-name">Email:</span>
        <span class="field-value">{{ user.email }}</span>
      </li>
      <li>
        <span class="field-name">Created:</span>
        <span class="field-value">{{ user.created }}</span>
      </li>
      <li>
        <span class="field-name">Bio:</span>
        <span class="field-value">{{ user.bio }}</span>
      </li>
      <li>
        <span class="field-name">Admin:</span>
        <span class="field-value">{{ user.admin }}</span>
      </li>
    </ul>
    {% endfor %}
  </div>

{% endblock %}
users.jinja2
When we start our app, we should see the following on the homepage:
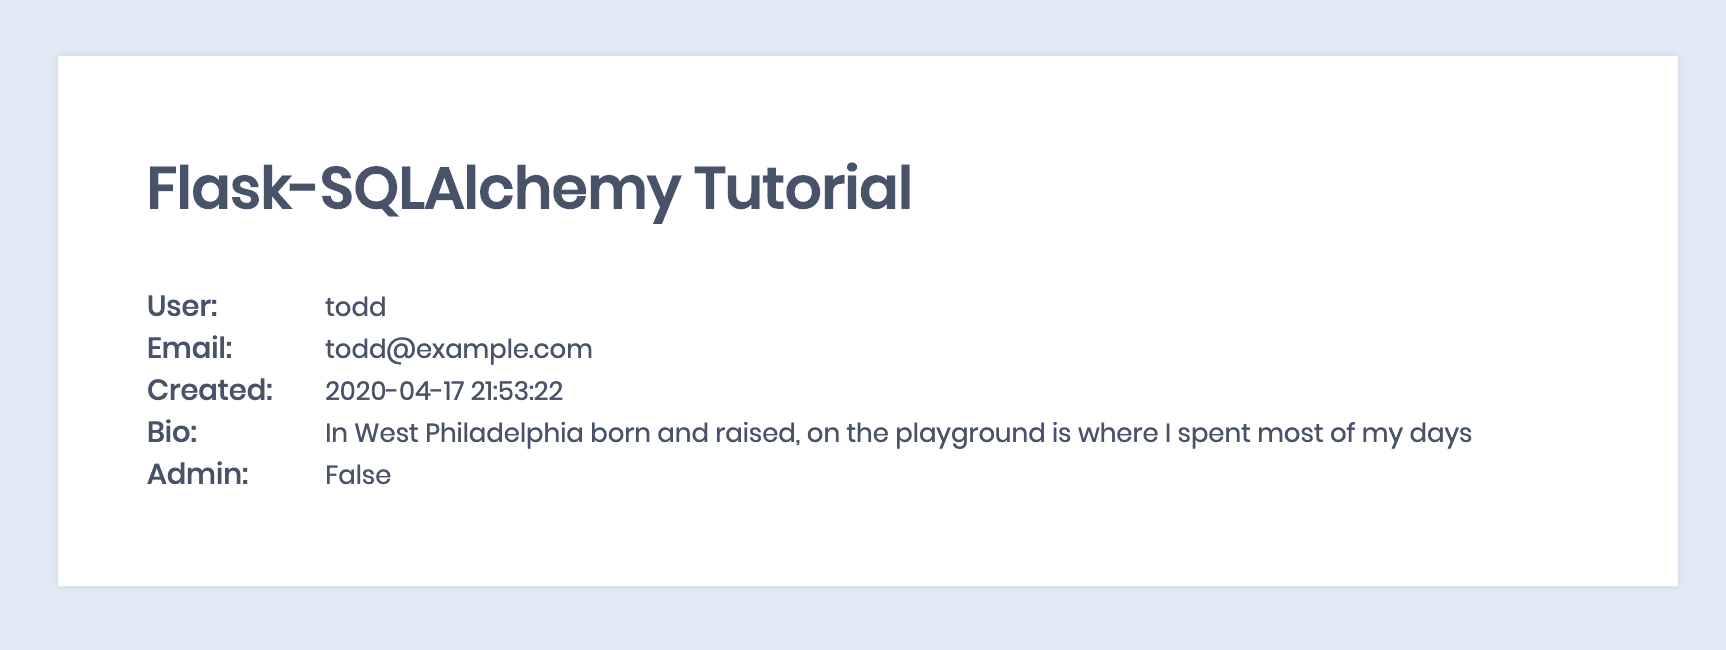
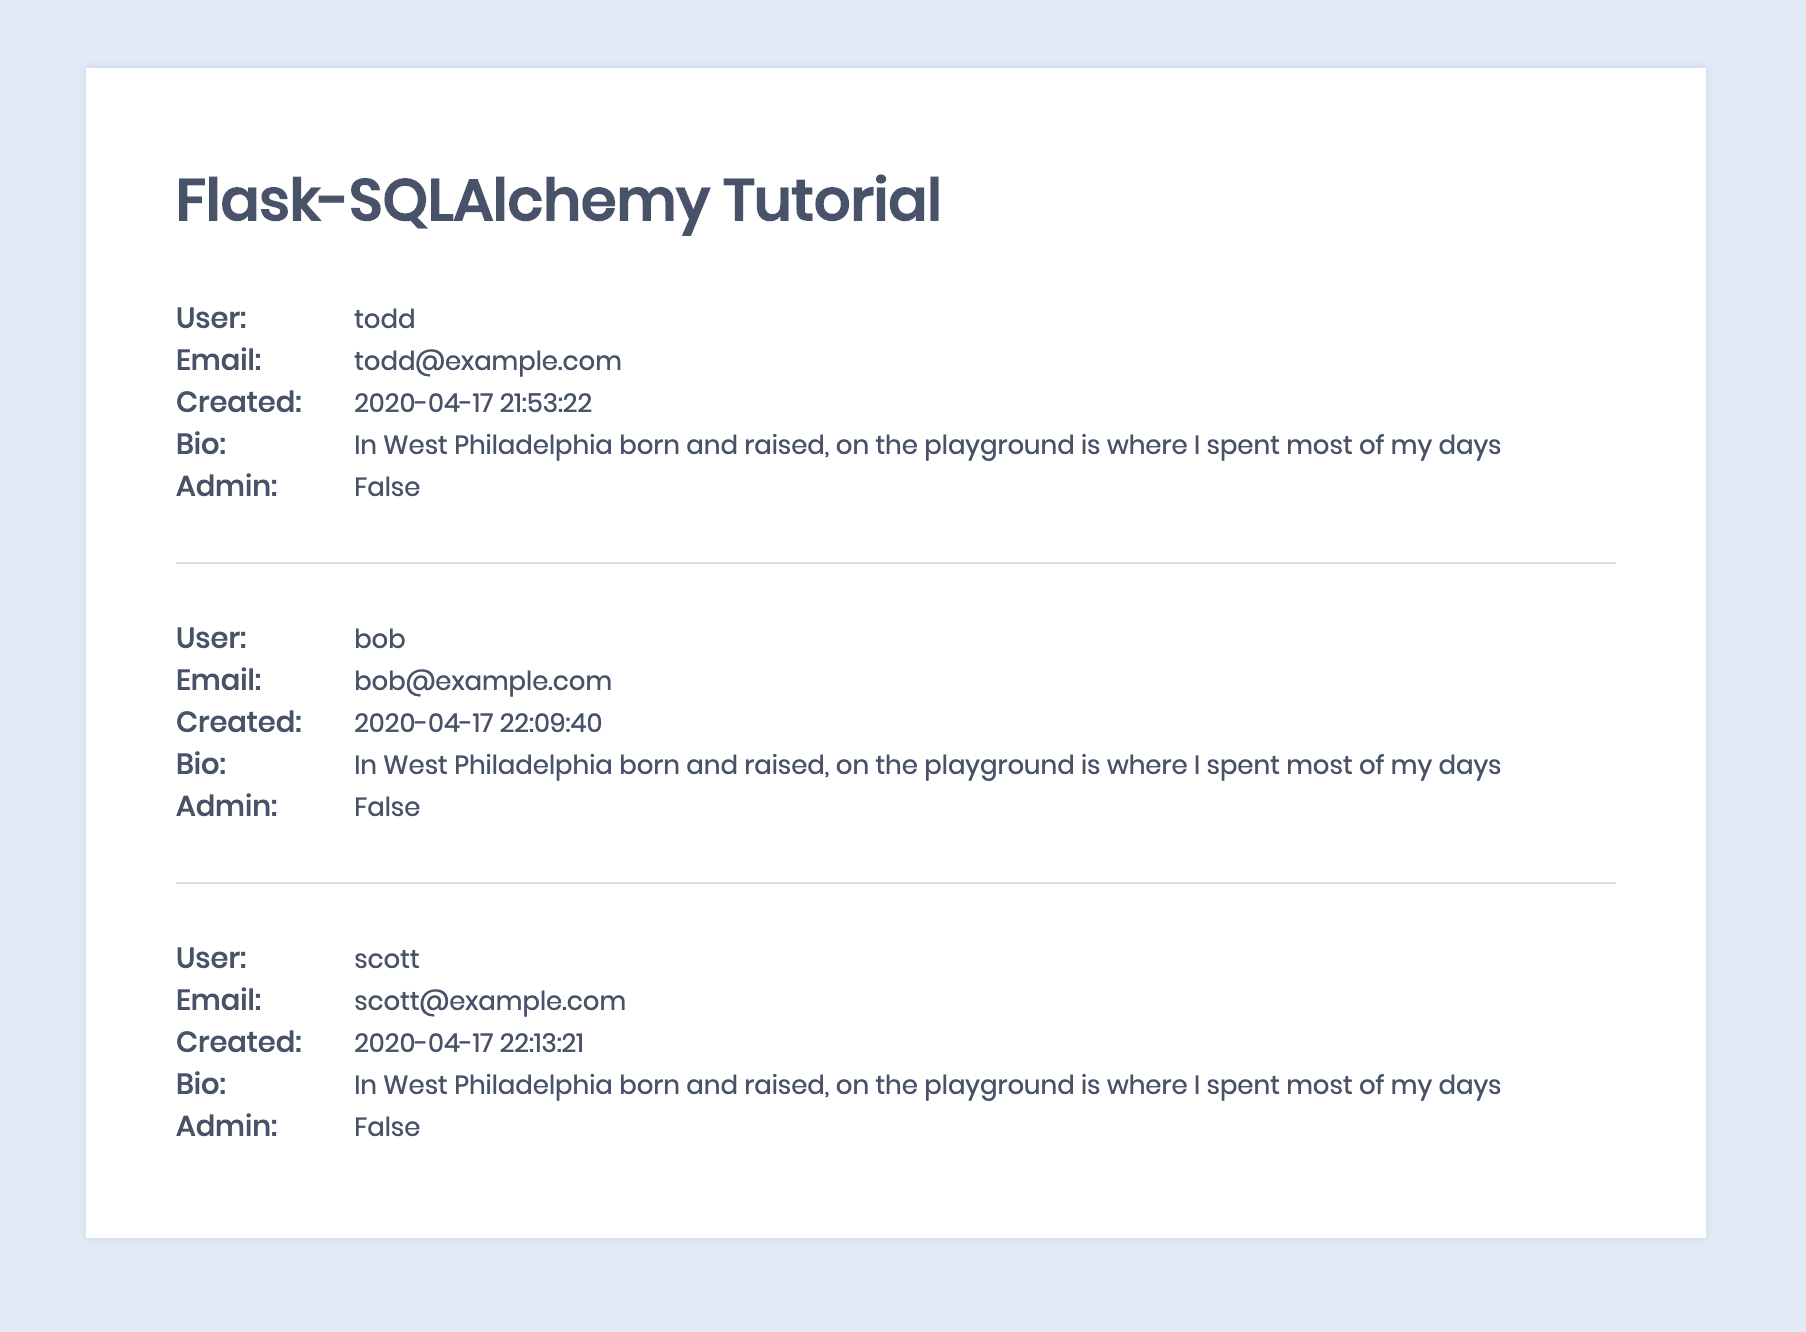
Looks like we can display existing users! Let's add a few more records to make sure everything is working:
Here, Take All My Stuff
Flask-SQLAlchemy is great once you get going, but as we've already seen "getting set up" isn't always a walk in the park. This is one of those things that always seems to be wrong no matter how many times you've done it from memory.
As a parting gift, I've put the source for this tutorial up on Github for you to treasure and enjoy. No seriously, take it. Get it away from me. I'm done with Flask for today:
If you'll excuse me, I need to go play some Rocket League now.
PS: Add me on PSN