Last we chatted, we walked through the process of getting started with Jupyter notebooks on a Ubuntu server. The classic Jupyter notebook interface is certainly well-suited to the job done. That said, it only takes some time of getting lost in the interface to start thinking we can do better. That's where Jupyter Lab comes in.
Why JupyterLab?
JupyterLab is sometimes referred to as "the next generation of Jupyter notebooks," which is a statement I can attest to. JupyterLab offers an improved interface for Jupyter notebooks which is both available out of the box, as well as highly customizable for your workflow.
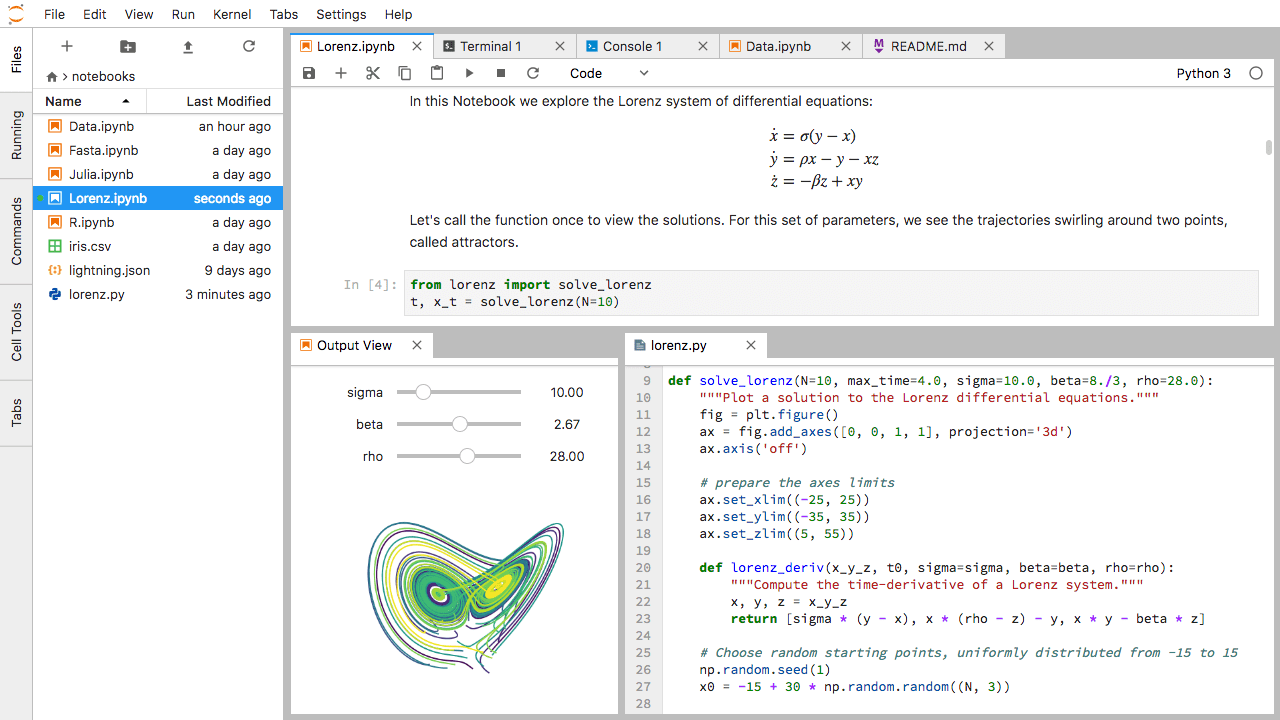
Out of the box, the traditional Jupyter interface is extended to include a tree file manager: similar to what you might expect from an IDE. This allows you to easily browse all available notebooks on your server. In addition, the notebook interface has been simplified to reduce noise brought on by (mostly useless) toolbars and excessive buttons. Take a look at the interface prior to any customization:
Even more appealing than an updated interface is JupyterLab's openness to customization. JupyterLab has a strongly growing ecosystem for extension development: we'll be getting a taste of some of those goodies in just a moment.
Getting Started
If you're starting from scratch, go ahead and follow the same steps in the Jupyter Notebook setup tutorial up until Conda is set up and activated.
With a Ubuntu server prepped and ready, install Jupyter Lab with the following command:
$ conda install -c conda-forge jupyterlabBefore we go any further, make sure you're tunneled into your server - we need to do this in order to launch notebooks, remember?:
$ ssh -L 8888:localhost:8888 myuser@your_server_ipStart up the Jupyter Lab environment like this:
$ conda activate your_env
$ jupyter labIf everything went well, you should be greeted with a fancy Jupyter Lab loading screen and then thrown into the Jupyter Lab environment.
Things are looking good right off the bat. Without any added libraries, we've already beefed up our Jupyter Notebook workspace. The tree view is available, we can launch terminals, and don't forget: we can split-screen by dragging snapping windows where we see fit.
Customizing Your Workspace
JupyterLab uses NodeJS to enable some of its cooler functionality and extensions. Go ahead and install Node:
$ cd /tmp
$ curl -sL https://deb.nodesource.com/setup_16.x | sudo -E bash -
$ sudo apt-get install -y nodejsNice! Now we have all we need to go nuts with extensions. Here are the ones I recommend:
Status Bar
Status bar does exactly what it says. Of the information status bar presents to us, there's none more useful than the kernel status. Surprisingly, seeing that your machine is "thinking" is not a standard feature, and is very much missed when you attempt to chart thousands of rows with no other visual feedback.
To get status bar, run these 3 lines:
$ pip install nbresuse
$ jupyter serverextension enable --py nbresuse
$ jupyter labextension install @jupyterlab/statusbarstatus bar JupyterLab pluginTable of Contents
TOC is a great way to organize your own thoughts and jump around your notebook. More importantly, it helps accomplish something most data scientists fail at: making their notebooks readable by other humans.
Installation:
$ jupyter labextension install @jupyterlab/tocTable Of Contents JupyterLab pluginVariable Inspector
Variable inspector might lowkey be the hottest JupyterLab extension in the game right now. This pane displays the values of every declared variable in your notebook and updates per cell execution.
Installation:
$ jupyter labextension install @lckr/jupyterlab_variableinspectorVariable Inspector JupyterLab pluginGit Integration
A straightforward visual integration with Git to keep your notebook properly committed to version control.
Installation:
$ jupyter labextension install @jupyterlab/git
$ pip install jupyterlab-git
$ jupyter serverextension enable --py jupyterlab_gitgit JupyterLab pluginDraw.io
Just for fun, how about an extension to edit Draw.io diagrams inline in your notebook? Why not?
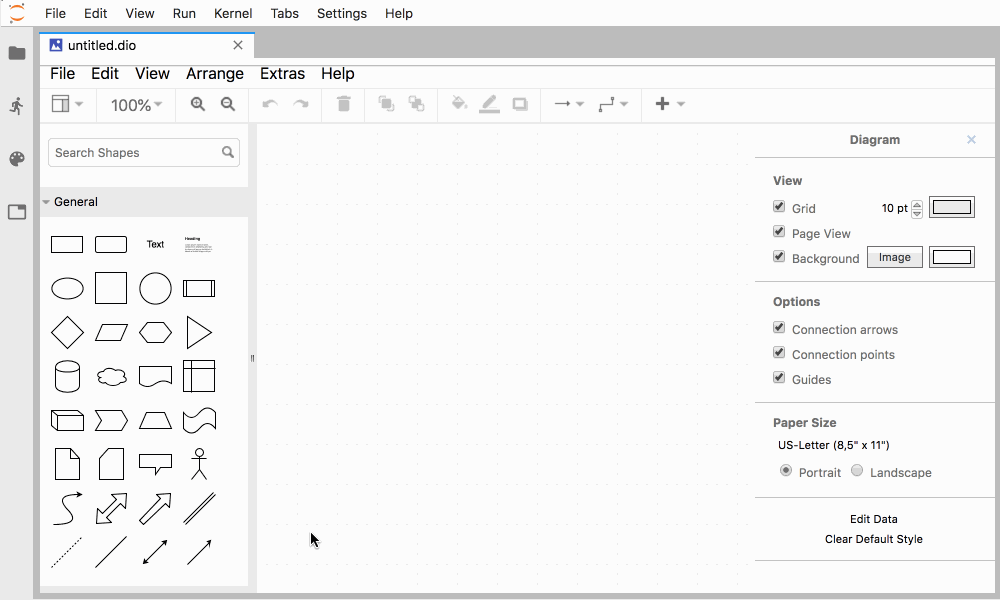
Installation:
$ jupyter labextension install jupyterlab-drawio
draw.io JupyterLab pluginAdditional Resources
You have everything you need to go nuts from here forward. INSTALL ALL THE EXTENSIONS!
If you're looking for more extension goodness, I'd start with the Awesome Jupyter repository on Github- there's a section specifically for JupyterLab.
If you're totally into JupyterLab now and want to join a gang, the community page can be found here.
Lastly, if you've gone totally off the deep end and already want to start creating extensions of your own, check out the extension documentation. That's all folks!